
Even the most confident DIYers avoid plastering. With a little preparation, patience, and knowledge, you can plaster walls yourself and achieve a smooth and professional finish but you can always call on a Plasterer Cheltenham.
Preparation
Take some time before you start plastering your wall to remove any items that may get in the way or cause you a trip. You can also use dust sheets or other protective materials to cover your floor and protect any nearby objects. You’ll also need to buy plaster that is suitable for the surface you intend to cover.
How do you plaster a wall?
- Prepare the wall
Preparation is the first step in plastering a wall. You’ll first need to remove all loose plaster, dust, and other dirt or imperfections which will prevent the plaster from sticking to the wall properly. Use jointing tape if you are plastering new plasterboard.
- Prime the walls
The next step is to prime the wall to help the plaster adhere. Apply a PVA adhesive to the entire area you will be plastering with a roller. For a professional Plasterer Cheltenham, visit Pure Plasterers.
- Mix the plaster
It’s now time to prepare your walls and mix your plaster. Pour water into a bucket and slowly add plaster. Refer to your plaster’s instructions for the exact amounts of water.
Mixing plaster is easy to do by hand, but we recommend using an electric mixer at low speed. Continue mixing until the mixture is smooth and mud-like. Use a trowel as you mix to incorporate any plaster that has accumulated on the bucket’s edge.
- Apply first coat
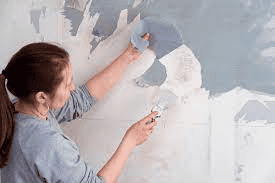
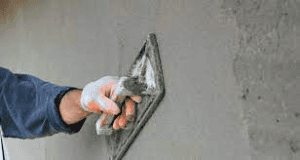
You can now apply your first coat of plaster. Hold your plasterers’ hawk in one hand, and your trowel in the other when plastering a surface. You may need some practice to become familiar with these two tools. Start by using small amounts of plaster at a time.
- Smooth bumps and gaps
You can wet the plaster with your spray bottle, which will make the trowel easier to move. Use a wet brush to smooth corners and edges.
- The second coat can be applied
After you have smoothed out the first layer of plaster, it is time to start your second. This coat will require a thinned-down plaster mix. Refer to your plaster’s instructions for the exact amounts.
The second coat should be applied in the same manner as the first. After the second coat has dried, use a spray bottle with a trowel and sandpaper to smooth out any remaining bumps. A paintbrush can be used to smooth out the edges.
- Sand rough edges
After plastering, if there are any bumps, you can use fine-grit sandpaper.